These 1m² high-performance slim-line panels offer powerful wall soundproofing in a simple stick-on format—easy to retrofit and a long-standing bestseller for effective, DIY-friendly acoustic upgrades.
Original price £22.95
-
Original price £22.95
Original price
£22.95 ex VAT
£22.95
-
£22.95
Current price £22.95 ex VAT
| /
In stock – Ready to ship
Estimated delivery: 3–5 business days
Quick Delivery Info
We know soundproofing gear isn't exactly letterbox-friendly. Most items are bulky and heavy but don’t worry, we’ve got it covered.
Heavy Products: Ensure you have enough help to handle your delivery.
Pallet deliveries are kerbside only: You will need to move the goods from the kerb to your property.
Non-pallet deliveries are hand-unloaded: The driver will need assistance but for safety/insurance reasons, can’t enter private property or carry items inside.
Low Cost Delivery: What we pay, you pay.
Split deliveries may be necessary: This keeps your costs low.
Specialist Delivery: Prices vary per item/location.
Pallet Delivery: £85 + VAT per pallet (max 750kg). We refund if fewer pallets are used.
Courier Delivery: £15 for small items, £32 for oversized.
Merchant Delivery: £50 under £300 | £25 under £1,000 | Free over £1,000 (min order £150).
Returns: Accepted within 30 days if items are resalable and authorised in advance (40% restock fee or £50 min).
For full details including access, insurance, and returns info, see our Delivery Page.
Our calculators work out exactly what you’ll need to soundproof a wall or ceiling.
Just enter the dimensions of your wall or ceiling, and you’ll get the correct number of GenieClips, furring strips, plasterboards and all the accessories you will need.
It’s the easiest way to make sure you’ve got everything to complete your project without waste or guesswork.
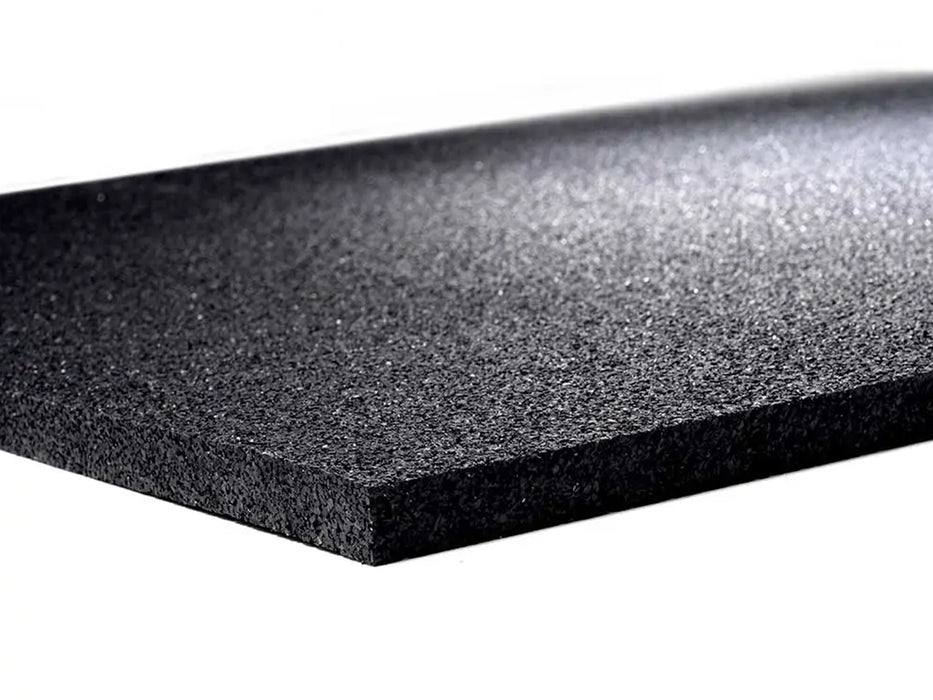
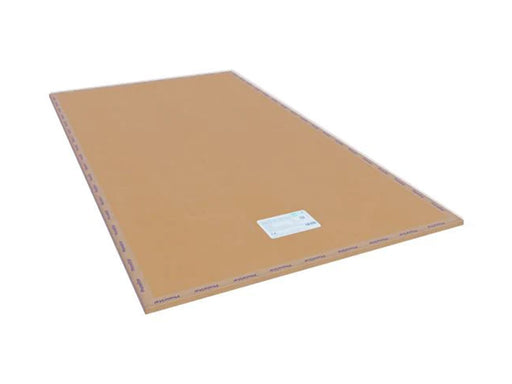
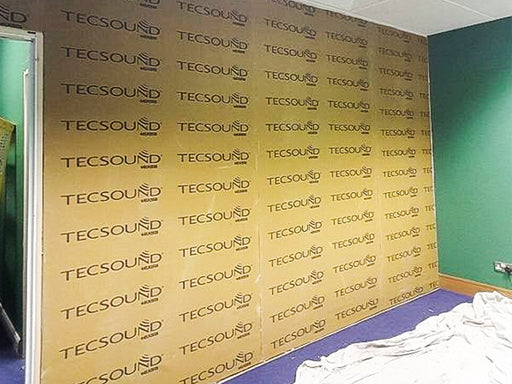
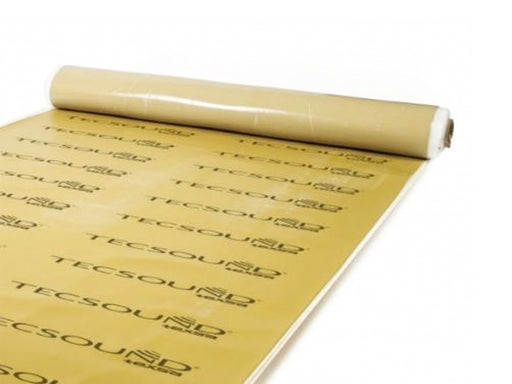
The SM20 Rubber Wall Panels are designed to provide high-performance soundproofing, particularly for airborne noise through party walls. Made from recycled rubber, the SM20 panels offer a reliable sound insulation solution that’s easy to install—even for those with basic DIY skills. These panels effectively enhance the soundproofing of single-skin brick, stud, and breezeblock walls, making them an ideal choice for domestic properties.
What is a Soundproof Rubber Panel?
A soundproof rubber panel is a dense, high-mass barrier created from recycled rubber, specifically engineered to block sound transmission through walls. These panels are designed to absorb and reduce airborne noise, making them ideal for soundproofing party walls and other shared walls in residential settings. The SM20 panels are particularly effective for upgrading sound insulation without taking up much space.
How Do the SM20 Rubber Wall Panels Work?
The SM20 panels work by creating a dense barrier that blocks airborne sound waves from passing through walls. When properly installed with SM20 adhesive and finished with acoustic plasterboard, these panels prevent sound leaks by sealing gaps and reinforcing the wall’s overall density. The recycled rubber material efficiently absorbs and dissipates sound energy, reducing the amount of noise that travels between rooms.
See the SM20 being installed:
How Effective are the SM20 Rubber Wall Panels at Stopping Nuisance Noise?
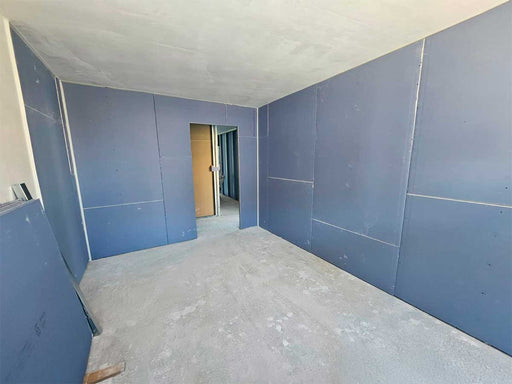
The SM20 Rubber Wall Panels are highly effective at stopping airborne noise, especially when used as part of a full soundproofing system. When installed on a single-skin brick wall, the system can achieve noise reduction levels exceeding 48dB, meeting and surpassing Part E requirements for party wall soundproofing. This makes SM20 panels an excellent choice for reducing nuisance noise in shared walls.
Where Can the SM20 Rubber Wall Panels Be Used?
These versatile panels are ideal for use in residential and domestic properties, especially in party walls between rooms or neighbouring homes. They can be applied to single-skin brick, stud, and breezeblock walls. The SM20 panels are suitable for spaces where effective soundproofing is required without sacrificing room space, such as living rooms, bedrooms, and home offices.
How to Install the SM20 Rubber Wall Panels
Installing the SM20 Rubber Wall Panels is a straightforward process that’s DIY-friendly and effective for soundproofing. Here’s a step-by-step guide to ensure the best results:
Prepare the Wall Surface Begin by preparing the wall surface. The wall should be smooth, clean, and free from any loose materials, such as flaking paint or wallpaper. Fill any cracks or holes with acoustic mastic, and for larger holes, use sand-cement mortar to achieve a solid, even surface. If the wall condition is poor, consider applying a PVA solution to help bond any loose areas and create a more secure base for the panels.
Seal Potential Noise Leaks One of the most common sources of noise leakage is around floor and ceiling joists, where gaps can allow sound to travel through. Carefully inspect these areas, and if you find any gaps, seal them with acoustic mastic or sealant to ensure the wall is as airtight as possible. This step is crucial for effective soundproofing.
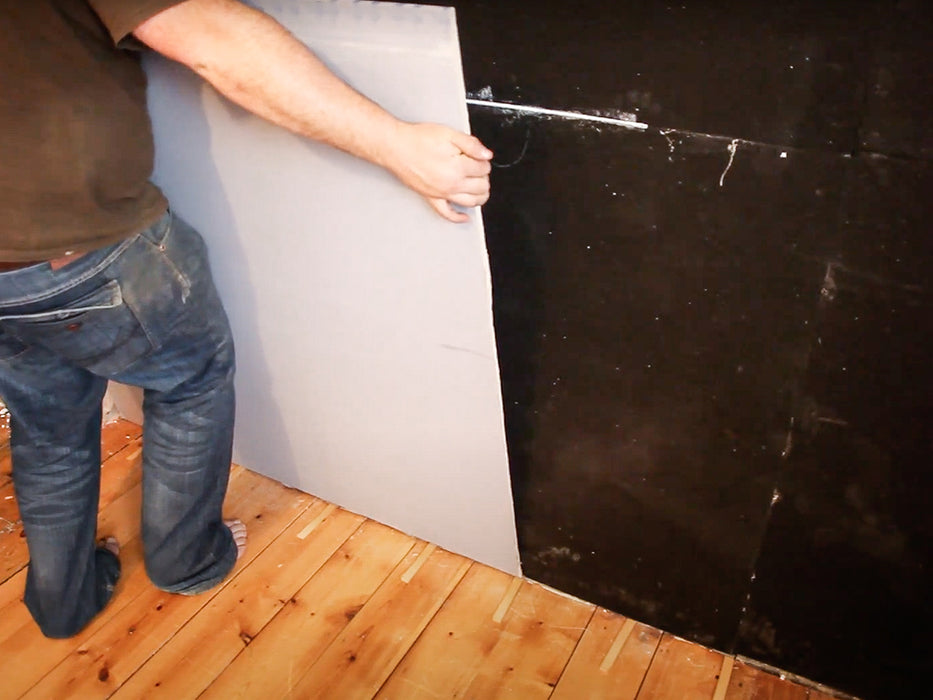
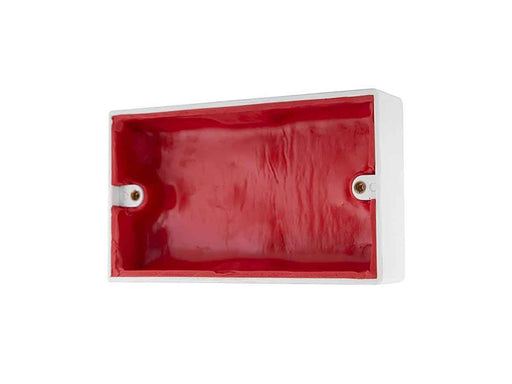
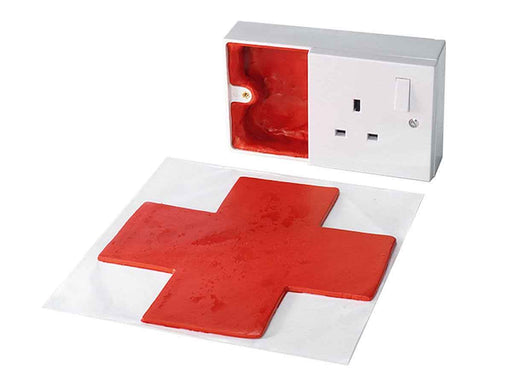
Apply the SM20 Panels Using the proprietary SM20 adhesive, attach the rubber panels to the wall. Cut the panels as needed with a sharp knife to fit around edges or outlets. Press the panels firmly to ensure a strong bond with the wall. For optimal performance, be sure to cover the entire surface area evenly.
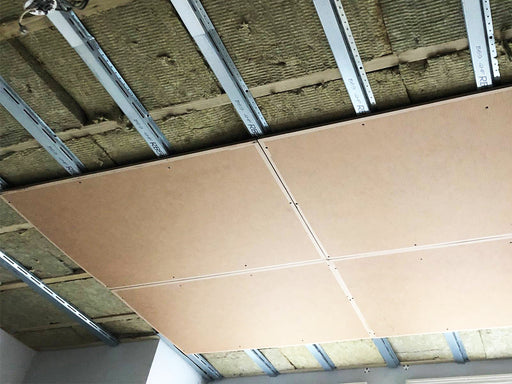
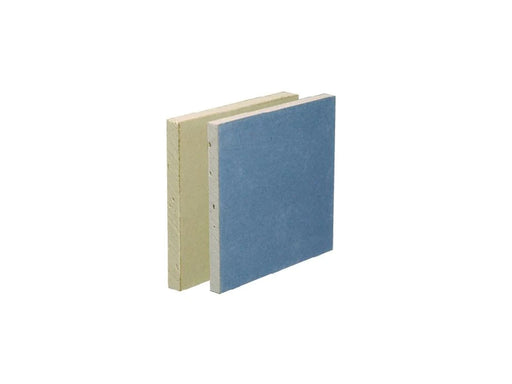
Cover with Acoustic Plasterboard Once the SM20 panels are in place, cover them with two layers of acoustic plasterboard. To create a full soundproof barrier, leave a small gap around the perimeter of the plasterboard and fill this gap with acoustic mastic. This extra step prevents sound from leaking through the edges.
Final Checks and Sealing Before completing the installation, make sure there are no unsealed gaps or openings. Check that all joins between panels, plasterboard, and wall edges are thoroughly sealed with acoustic mastic for a seamless, airtight finish.
By following these steps, you’ll achieve a robust soundproofing system that effectively reduces airborne noise through walls. This straightforward process creates a reliable, long-lasting soundproof barrier with the SM20 Rubber Wall Panels.
What are the Benefits of Using the SM20 Rubber Wall Panels?
High Acoustic Performance: Effectively blocks airborne noise, meeting and exceeding Part E requirements for party walls.
Easy to Install: DIY-friendly, with straightforward instructions and minimal tools required.
Space Efficient: Provides effective soundproofing without a significant increase in wall thickness.
Durable and Sustainable: Made from recycled rubber, the SM20 panels are both eco-friendly and long-lasting.
Complete Solution: Comes with proprietary adhesive and installation guidance, making it easy to create a reliable soundproofing system.
Versatile Application: Suitable for various wall types, including brick, stud, and breezeblock.
Other Areas to Consider when Soundproofing a Wall
If you are soundproofing a party wall be aware of the possibility of sound passing through wall below the level of the floor boards. To combat this you should consider using 100mm AMW60 filling the void under the floor immediately adjacent to the wall.
Another area where sound might be penetrating is through the party wall above the ceiling. If the ceiling is single skin plasterboard you can try and augment this by adding a further layer of 19mm plank and even think about using the noise blocker quilt in between the ceiling and that 19mm plank. While flanking transmission is an issue do not become too overly concerned with it if it puts you off doing the job in the first place. Ceiling improvement can be done post wall work if it proves to be a weak link.
If the party wall contains a fireplace that is not used then the ideal solution would be to brick up the opening and then treat the whole party wall with SM20 panels. Whilst this is ideal it is not often possible. From our experience we tend to find that it is the alcoves that are performing much worse than the chimney itself. This is due to the quality of original craftsmanship and the thickness of bricks used in the party wall originally.
Check the panels before installation removing any bits of loose paper that may still be stuck from the manufacturing process, and remove any dust to make sure panels are dry.
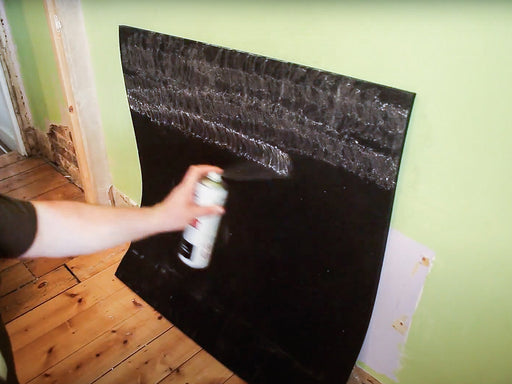
Now proceed as follows: The sound insulation is applied as soon as the wall is suitably prepared. Ensure the wall is dry and free of dust or grease and the surface to be treated is flat and sound. Adjust the spray of the adhesive by turning the nozzle.
Bond the SM20 panel to the pre-glued area of the wall and apply with a firm pressure over the entire panel to ensure it is properly bonded over its entire surface. You should apply the SM20 in rows and work upwards. Starting in a bottom corner. The application of the spray adhesive also applies to the plasterboard.
Make sure you do all necessary cuts to allow for corners and electrical fittings before using the adhesive as it goes off very quickly. Care must be taken to ensure there are no unnecessary gaps between the joints of the sound insulation. Any holes or spaces can be filled with acoustic sealant.
When each wall has been covered with the SM20 acoustic panels, no further treatment should continue until the adhesive has sufficiently cured. However if it is warm (over 21 degrees) the curing is fast and work can continue the same day. We recommend using two layers of 12.5 mm acoustic plasterboard with this solution although you can use 15mm or even 19mm plank.
Cut the acoustic plasterboard to the correct height between the ceiling and floor allowing a small gap at both bottom and top before applying the adhesive. When each board has been treated with the adhesive, place it into position onto the wall ensuring a small gap is left where the board meets the floor, walls and ceiling. Proceed with more boards across the entire wall and again, leave a small gap where the last board is cut in. There should now be a small gap all around the edges of the plasterboard where the boards meet the floor, ceiling and walls. It is easier to use thin packing pieces to achieve this, which can be removed when the adhesive has cured. This gap should then be filled with acoustic mastic.
Repeat the process for the second layer of plasterboard but this time overlapping the joints of the first layer. It may be necessary to support the plasterboard until the adhesive has sufficiently set. If you run out of adhesive at this point you can use any common spray tack adhesive or Unibond wallboard adhesive to add the final layer of plasterboard. It is imperative however that you use SM20 adhesive for the SM20 layer.
When the adhesive has cured, the soundproofed wall can be finished by plaster skimming or as desired. However, if plastering, be sure to maintain the small gap around the edges. This can be achieved with the edge of the trowel. When finished, the skirting board can be reapplied with adhesive or plasterboard screws. All screws used must be designed for plasterboard and must NOT bridge the insulation. Nails must never be used. Skirting boards should be fixed with a small gap beneath and in each corner to ensure the wall remains “floating”. All gaps can be filled with flexible acoustic sealant before decorating.
Fitting of shelves, cupboards and radiators, etc, should not commence until the adhesive has fully cured and at least a week after the plasterboard has been bonded. Be sure to use only the correct screws and plugs designed for use with plasterboard and be careful not to penetrate the insulation through to the structural wall.
Using the SM20 Adhesive
Before using the SM20 adhesive, read the directions on the back of the can then proceed as follows;
Shake can well before using. For best results, the ambient temperature should be 70°F/21°C and properly conditioned.
Ensure all surfaces to be bonded are free from dirt, oil, grease, dust, and any other material that may affect the bond.
Adjust the nozzle by turning to the largest spray pattern which is usually the third symbol to the right looking at the top of the can and near the base of the nozzle.
Hold the can 6 to 8 inches away from surface and apply in even coats making sure the adhesive 'webs' across the surface.
Take care not to use too much adhesive or you may run out before the end of the job.
Do not hold closer than 6 inches or 'wet' the surface.
It is important a web pattern is obtained and at least 80% of the surface is covered.
One surface should be sprayed vertically and the other horizontally. Do not concentrate in one spot or allow to puddle.
Once both surfaces have been coated, bond the sound insulation directly to the wall with a firm, even pressure.
Tack time can vary depending on climate conditions and may well be shorter or none at all if it is warm. In warm conditions, the adhesive may go off before bonding commences if too much time is taken before bonding the two surfaces together so don’t delay.
It is important that good pressure is applied to ensure a firm bond is obtained.
A roller may help.
Although our adhesive is low odour, it is still advised that where the work is being conducted is well ventilated with a window open if possible.
The adhesive should be stored at normal room temperatures of 15° - 21°C.
Using Fixings to help the bond
Occasionally, for various reasons, problems may be encountered bonding the product to the wall. When this occurs, mechanical fixings can be used in addition to the adhesive as follows:
If fixing to plasterboard faced timber stud, additional normal wire nails hammered well into the insulation so the heads are below the panel surface work well. In these cases use only sufficient nails to secure the insulation effectively.
When fixing to masonry walls nail guns can be used to shot fire nails through the insulation or alternatively, masonry nails combined with battens can be used but these must be removed when the adhesive has cured.
Visit our Fitting Instructions section for more detailed instructions relating to your specific application.
Check out our Soundproofing Guides for more information, advice and tips on all aspects of soundproofing.
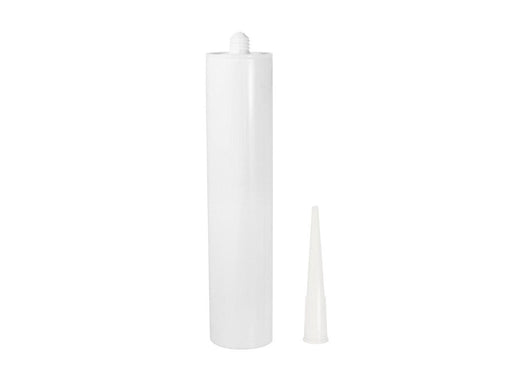
Don’t forget your SM20 Adhesive!
SM20 glue is a very high strength contact adhesive, designed specifically where high load baring ability is necessary. SM20 panels weigh 15kg each, so it is vital the correct adhesive is used.
Please Note: Other adhesives will not create the required bond for SM20 panels.
A pleasure to do business with such a well organised, efficient company with a great product.
B
Brian Downes
Soundbusters
Excellent product and support
G
G.V.
Very good product
E
Eric Gledhill
No nonsense advice and service
I recently undertook two soundproofing DIY projects starting with a small 2.5 m square infill to a former doorway followed by an 11m square stud wall soundproofing plan that in total took 20cm from the length of a room. Soundstop.co.uk provided expert advice to aid my planning and ensured that all the specialist materials required were readily available for me to carry out the projects to a very satisfactory standard. I would recommend their services to all and would not hesitate to use them again in the future.
M
Martin Wood
Excellent Service
Accurate and quick with the quote and Soundstop helped again quickly when I needed to change my order.
I
Ian Warner
slightly disappointed
I called Soundstop for some advice after looking at the website for sound proofing ideas. The advice received was quite comprehensive and a particular product was suggested (SM20 panels), it was suggested that there would be a reasonable uplift in decibels, and that the product should easily resolve the issue (sound test made 41db needed 43db)
After the product was installed, with additional 12.5mm sound-block plasterboard, a retest demonstrated an uplift of 2db, a pass (just) but not the uplift I was anticipating (10db+).
I will use the company again if needed, but may research other methods.
E
Elizabeth Day
Excellent advice and service. Products and fitting as described
M
Marcus Berthold
Sm20 with sbx upgrade
Fantastic. It does work well and is easy to install. Great support from the soundstop team and customer service
S
Stephen Taylor
Great service again
This was my second order and as the first everything went very smoothly, great communications from the moment i ordered online to the day of delivery, I have no problem recommending Soundstop to anyones great products and brilliant customer service, thank you, I will be using you again soon
I will line the back of the plasterboard on all my walls when doing any future renovations. An excellent product. Especially when comnbined with Rockwool RWA3.
Best on line ‘sound insulation’ advice on website. Very helpful and knowledgeable in advising on products on phone.
Efficient and friendly service. Great ‘on hold’ music! A pleasure to deal with.
Very pleased with the brackets I purchased from soundstop, easy to install and good quality. Very helpful advice and fast delivery.
Thank you very much.
Sound proofing because of loud conversation downstairs
We had people in the flat below us, who spoke very very. Loudly . The soundproofing definitely helped. Thankfully they have now gone. Great product everyone I spoke to were very nice and helpful.thank you
Looking at designing a new soundproof wall for TV and sound system I choose Soundstore. Was impressed with ease on website, the call from them to advise delivery details. Overal great customer service.
Amazing service, an absolute pleasure calling them, they always answered, we're very patient and helpful with my endless questions. Once ordered, my delivery arrived two days later. I wish every company I dealt with ran their business like these guys.
Items arrived promptly and well-packaged. The strip at the bottom of the door came with a tiny set of instructions which are not easy to follow; a video link would have been useful.
Wrong product sent on first delivery, but great customer service ensured correct item was promptly delivered and apologies accepted. The self adhesive Tecsound is easy to apply and is a quality acoustic product. Well done team.