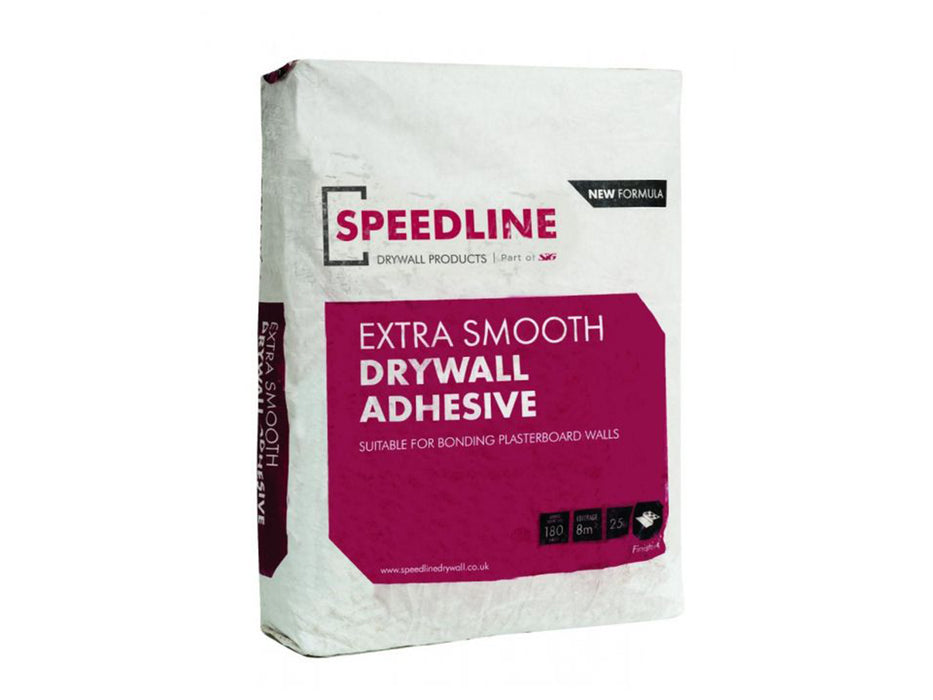
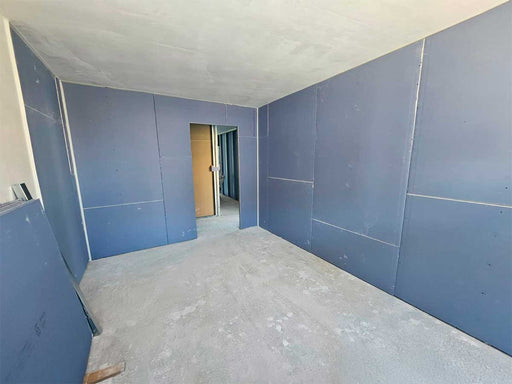
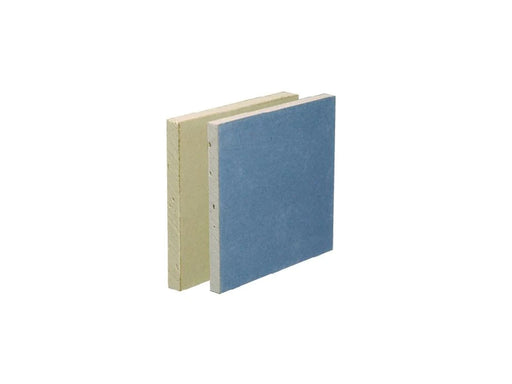
The Dry Wall Adhesive (25kg bag) is a high-performance gypsum-based compound designed for bonding plasterboards, metal furring channels, and insulating laminates to walls. Known for its versatility and ease of application, it delivers reliable and durable results for both professionals and DIY enthusiasts. With an extra-smooth consistency and multi-surface compatibility, this adhesive is the go-to solution for efficient and cost-effective plasterboard installation. Whether you're tackling masonry, metal channels, or timber frameworks, this product ensures a secure bond with a professional finish.
What is a Dry Wall Adhesive?
Dry Wall Adhesive is a specialised gypsum-based compound formulated to bond plasterboards and other construction materials to walls or ceilings. It is most commonly used in "dot and dab" applications, where adhesive spots are applied to a wall, and plasterboards are pressed onto the surface. This adhesive is ideal for projects that require precision, strength, and compatibility with various substrates, such as:
-
Plasterboards
-
Metal furring channels
-
Insulating laminates
-
Masonry surfaces
Dry Wall Adhesive is a fundamental component in modern construction and renovation, enabling quick and efficient installation of plasterboards while maintaining structural integrity.
How Does Dry Wall Adhesive Work?
The Dry Wall Adhesive works through its unique gypsum-based formulation, which allows it to be mixed into a pliable, thick consistency that adheres firmly to surfaces. Here's how it operates:
- Preparation: The adhesive is mixed with water to the required consistency, using a mechanical whisk for uniformity.
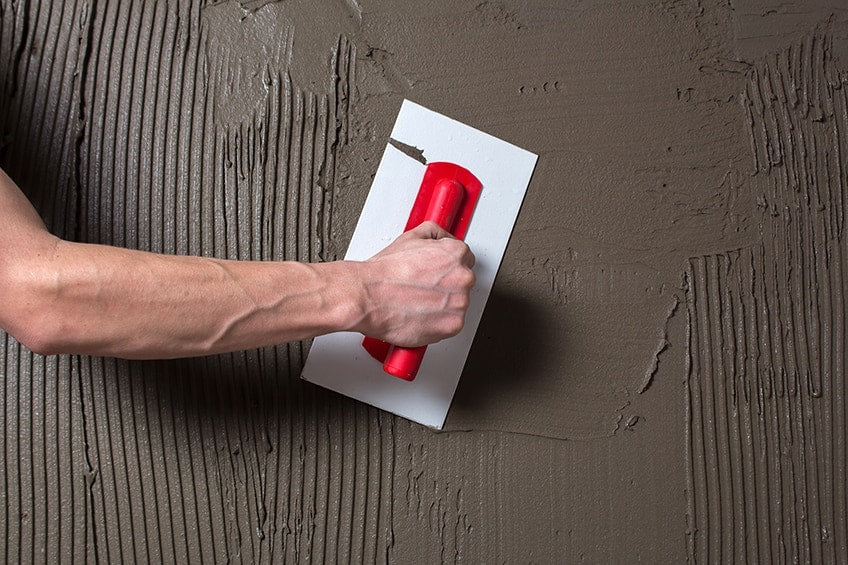
- Application: The adhesive is applied to the wall in a dot-and-dab or zig-zag pattern using a trowel.
- Bonding: Plasterboards are pressed against the adhesive spots, creating a "suction effect" that holds them securely in place.
- Adjustment: The boards can be levelled and adjusted before the adhesive sets, ensuring a smooth, even surface.
- Curing: With a working time of around 90 minutes and a setting time of 2-3 hours, the adhesive cures to form a strong, durable bond.
This method ensures reliable adhesion while minimising material usage and installation time.
Where Can Dry Wall Adhesive Be Used?
Dry Wall Adhesive is a versatile solution suitable for a wide range of applications:
-
Masonry Walls: Ideal for bonding plasterboards directly to brick, block, or concrete surfaces.
-
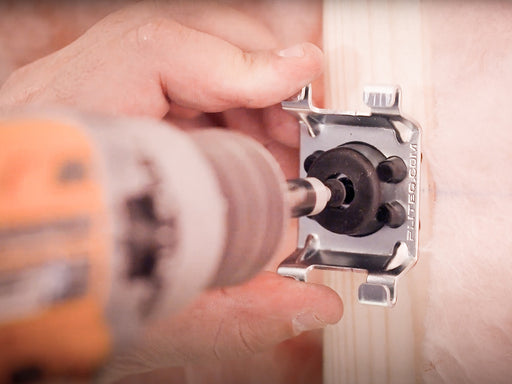
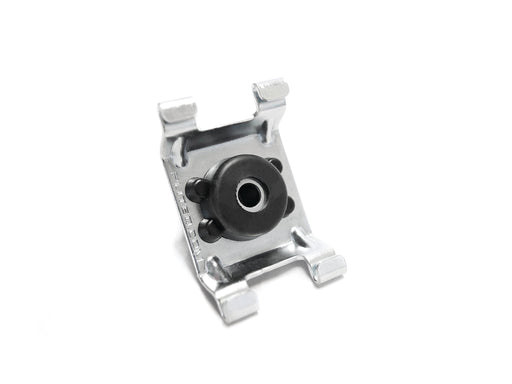
Metal Furring Channels: Compatible with systems like Knauf for secure and efficient installations.
-
Insulating Laminates: Suitable for attaching laminated plasterboards or insulation boards to various surfaces.
-
New Builds and Renovations: Perfect for residential, commercial, and industrial projects.
-
Kitchens and Bathrooms: Provides a durable and moisture-resistant bond in areas with higher humidity levels.
Its flexibility makes it an indispensable product for professional construction projects and DIY renovations alike.
How to Use Dry Wall Adhesive
Follow these steps for optimal results with Dry Wall Adhesive:
- Prepare the Surface:
-
Ensure the wall is clean, dry, and free of dust or debris.
-
Remove any loose materials or contaminants.
- Mix the Adhesive:
-
Use a mechanical whisk to mix the adhesive with water until it reaches a thick, pliable consistency.
- Apply the Adhesive:
-
Use a trowel to apply the adhesive in a zig-zag pattern or in evenly spaced "dots" across the surface.
-
Maintain consistent spacing to ensure a secure bond.
- Install the Plasterboards:
-
Press the plasterboard firmly onto the adhesive spots.
-
Adjust and level the boards as needed.
- Secure the Boards:
-
If necessary, use screws or nails to reinforce the plasterboard.
-
Allow the adhesive to set for 2-3 hours.
- Finish the Surface:
-
Apply jointing compound to fill gaps and create a smooth finish.
-
Sand and prepare the surface for painting or other decorative finishes.
Note: Always wear protective gear, such as gloves and a mask, to safeguard against dust and fumes.
What Are the Benefits of Using Dry Wall Adhesive?
Using Dry Wall Adhesive offers several advantages for construction and renovation projects:
- Ease of Application:
-
Simple to mix, apply, and adjust, making it accessible for both professionals and DIY users.
- Versatility:
-
Compatible with a wide range of materials, including plasterboards, metal channels, and insulating laminates.
- Efficiency:
-
Quick setting time (2-3 hours) reduces project downtime, enabling faster completion.
- Cost-Effectiveness:
-
Allows precise application to minimise waste, making it budget-friendly.
- Durable Results:
-
Provides a strong, long-lasting bond that withstands the rigours of daily use.
- Sustainability:
-
Made from gypsum, a recyclable material, contributing to eco-friendly construction practices.
- Smooth Finish:
-
Ensures plasterboards lay flat against the wall, ready for finishing with minimal preparation.
Whether for new builds, renovations, or retrofitting projects, Dry Wall Adhesive delivers professional results every time.
