Our Wall Soundproofing Solutions
From cost effective slim-line stick on soundproofing to high performance independent stud wall solutions.
Whether you are a musician, DJ, recording artist, or just want to enjoy your cinema sound at high volumes, you may be thinking about soundproofing a garage, barn, garden room or other outbuilding, to provide a rehearsal room for a band, home cinema, drum practice room or building a studio for recording.
It can be difficult finding good advice for soundproofing a room for music practice or recording studio, particularly if a DIY soundproofing project is what you have in mind. Studio soundproofing is often misunderstood and mistakes can be costly. Although you may track down suppliers of soundproofing for garages, it may be less easy to get clear, practical advice for installing soundproofing.
With this in mind, Soundstop have applied a decade of experience in soundproofing rooms for music to put together this Garage Soundproofing Guide, to help you create a cost effective soundproof outbuilding where you can really enjoy your musical endeavours!
Everyone wants the best “bang for their buck”; the most cost effective solution that offers as much acoustic performance as possible. For soundproofing a garage, this generally means building a new “room within a room” with new stud partition walls and ceiling, which then have soundproofing materials added to them. The independent nature of the stud partition structure acoustically “decouples” the new room from the existing structure, offering a higher level of soundproofing.
The easiest and most common way to create a simple, cost effective stud wall or ceiling is the timber stud partition system. Ideally constructed from 100x50mm timber, following industry standard practices, it is within the means of most competent DIY enthusiasts. There are lots of YouTube videos that show how this is done. Soundstop don’t supply the timber but it is readily available from your local timber merchant or hardware store.
Alternatively there are metal partition systems available, which are preferred by some and which Soundstop can supply as part of your soundproofing system. Again, there are plenty of good "how-to" videos online, like this one.
Soundproofing a room within a room can best be understood if it is broken down into three sections:
With the stud frame installed and secured, the first step is to install the Genieclips onto the face of the studs. We supply the screws for this task with the package of soundproofing materials, or if you prefer you can supply your own. The Genieclips are positioned in a prescribed pattern which is sometimes referred to as a "diamond " arrangement. There are detailed fitting guides on the Genieclip wall solution page that show this. Once the clips are installed, you will probably find it easiest to cut and install the acoustic mineral wool slab next, ensuring that it completely fills all the spaces and cavities within the stud frame. The next stage is fitting the furring strips to the Genieclips to create a set of parallel metal bars, onto which are fitted the two layers of acoustic plasterboard.
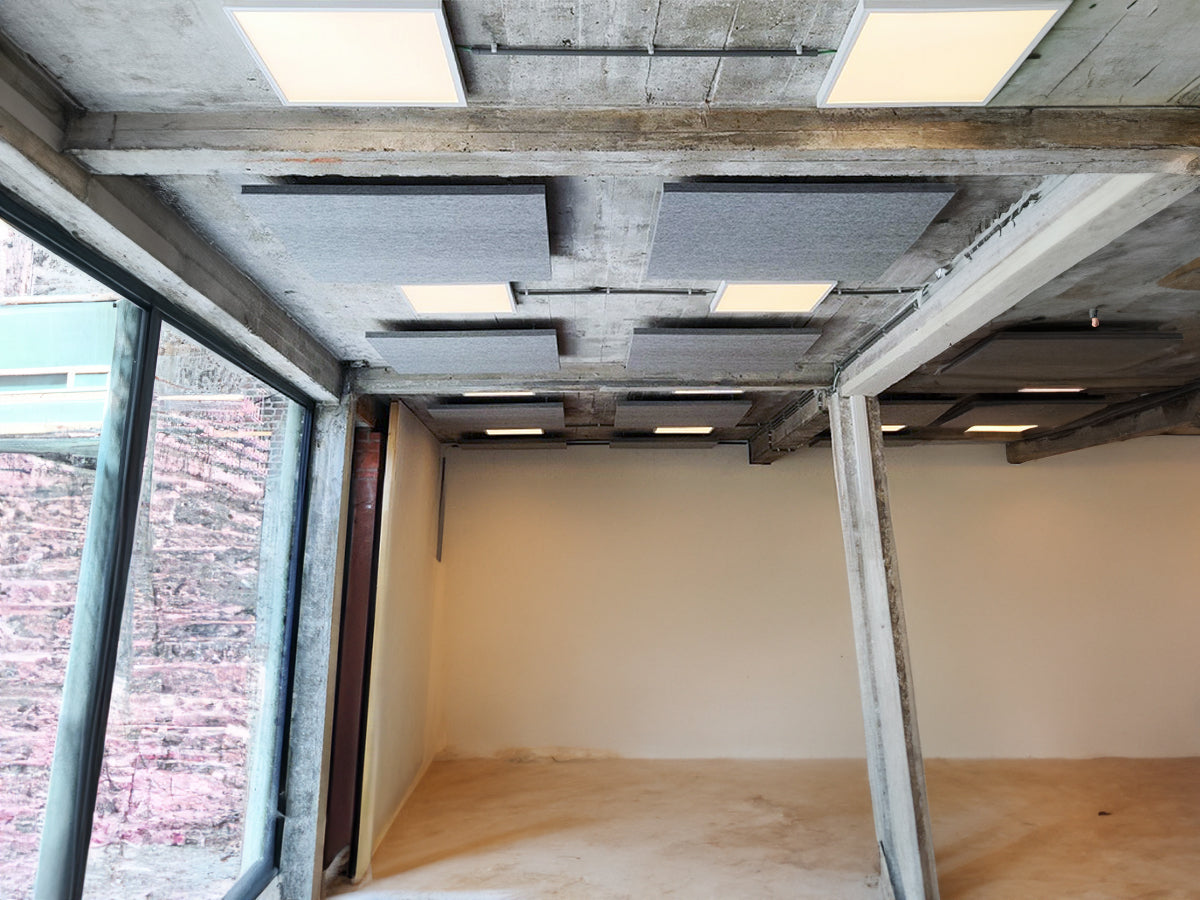
The ceiling soundproofing is carried out in a similar way as the wall soundproofing. Again the Genieclip system is the ideal solution, but as well as the standard Genieclip method, there is a second option for dealing with spaces that suffer from low headroom; the Genieclip LB3 ceiling solution. The use of Genieclip LB3s allows the creation of a soundproofed ceiling that drops the ceiling height by just 28mm, an impressively small headroom loss.
In addition, you can upgrade the wall and ceiling soundproofing with performance enhancing products such as Tecsound50 membrane and/or SBx boards.
The approach to soundproofing the floor will be determined to some extent by the type of floor, ie whether it is a traditional concrete slab commonly used in garages and workshops, or whether it is a suspended timber floor which may be found in garden rooms, home offices and other kinds of outbuildings:
Concrete floor: depending on the performance required and budget available you can choose from SBx boards, Isosonic rubber mat and Absorbalay 15 impact mat to create a soundproofed floor that will also be warmer and more comfortable than standing on concrete.
Timber floor: all of the above solutions are suitable, and you also have the option acoustic mineral wool and Tecsound50 membrane added to the floor structure.
In most cases the laying of the floor soundproofing is the quickest and easiest part of the project, typically taking less than half a day for a 4m x 4m space.

Are you trying to stop noise from below reaching you, or eradicate your noise passing down to your neighbours?

Ceiling soundproofing is often your only option when living below noisy neighbours. Check out our 4 solutions.

Jump straight into our sound absorption solutions designed and used in both public spaces and private homes.