Step 1: Install the Right Gym Flooring
Use SilentGym gym flooring product to absorb impact noise. If extra noise reduction is needed, add soundproofing Underlay beneath your flooring.
The perfect gym needs the right flooring and soundproofing to protect your floor and reduce noise. Whether you're lifting weights, running on a treadmill, or performing high-intensity workouts, impact noise and vibrations can travel through the floor and walls, disturbing others.
At Soundstop, we go beyond just selling gym flooring, we help you understand the importance of soundproofing and how to create a quiet, comfortable, and high-performing workout space.
We have assembled what we consider to be a world class range of gym flooring products - they cover the full range of needs from small home gym, through to large professional gyms:

Our classic gym floor tile - ideal for home gyms, children's play areas, and professional gyms looking for a cost effective solution.

Our professional grade gym floor tile - ideal for commercial gyms, and home gyms looking for a professional look and feel.

Ideal for large gym areas, SilentGym Roll can be quickly installed, yet provides superb gym flooring performance.

Easy-to-install wall soundproofing panels, designed to absorb airborne noise from workouts. Great for reducing sound transmission through walls in shared living spaces.

Ramps allow ease of access to a gym floor, removing the danger of tripping.
Soundproofing a gym requires tackling both impact noise (caused by weights, equipment, and footfalls) and airborne noise (music, voices, machine hums).
The SilentGym range cover a wide range thicknesses, so you can always find your What? perfect balance between cushioning, noise reduction, and durability.

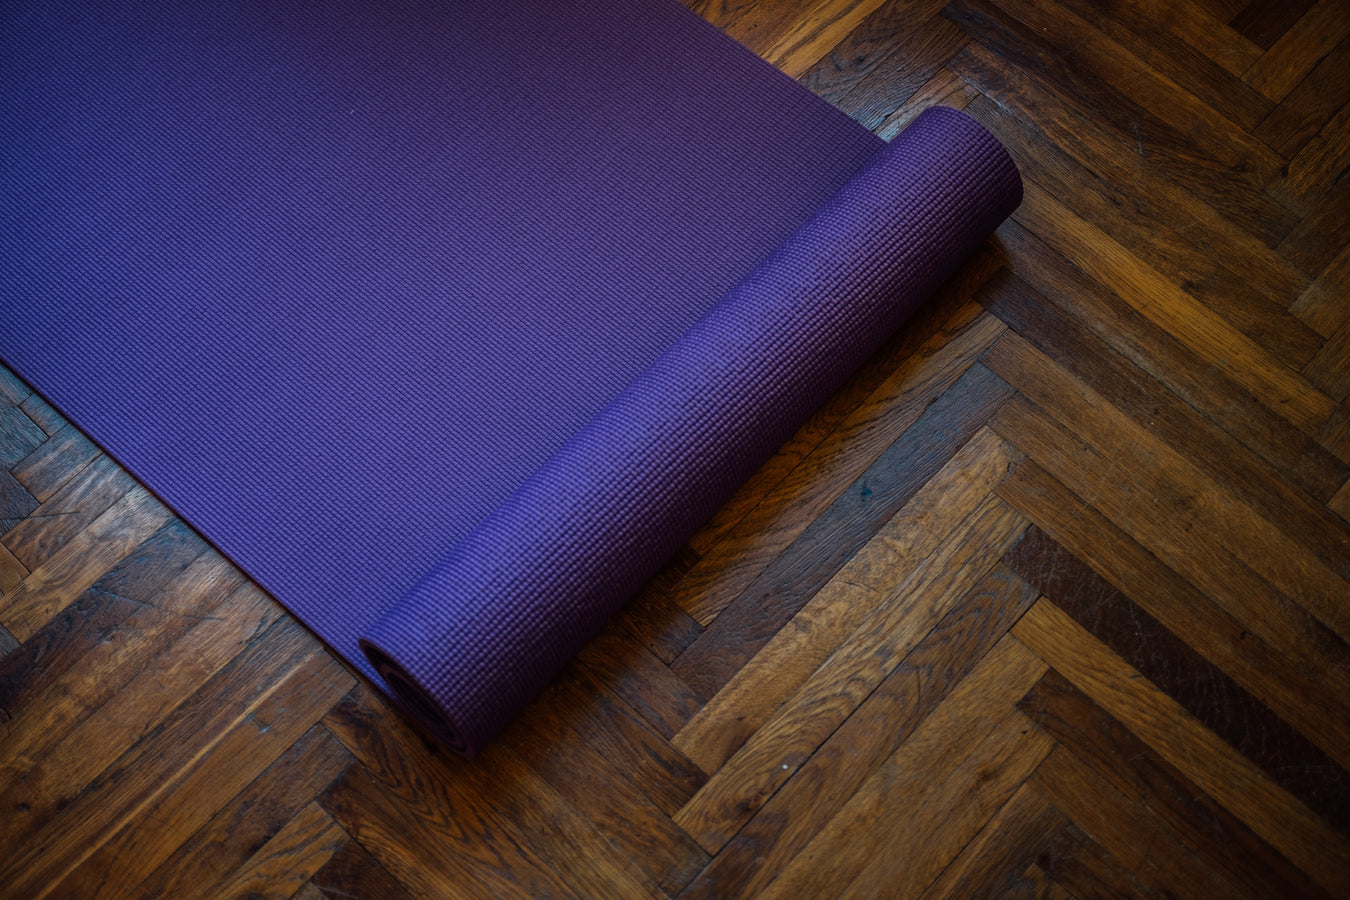
Rubber flooring is an excellent choice for home gyms, offering protection, noise reduction, and enhanced safety. It absorbs impact from heavy equipment and dropped weights, preventing damage to your flooring while also extending the lifespan of your gym gear. Additionally, its dense structure helps to dampen noise and vibrations, making workouts quieter, particularly important for gyms in shared or multi-floor homes.
Beyond protection and noise control, rubber flooring provides a stable, slip-resistant surface, reducing the risk of accidents during high-intensity exercises or weightlifting. Its durability ensures it can withstand frequent use without wearing out, and it requires minimal maintenance, making it a long-lasting investment. If you’re serious about creating a safe, effective, and low-noise workout space, rubber flooring is an essential addition to your home gym.
Installing gym flooring properly ensures a durable, safe, and comfortable workout space. Follow these steps for a professional-quality installation.
Before laying down your gym flooring, make sure the space is clean and ready:
Clear the area – Remove any furniture, equipment, or obstacles.
Clean the floor – Sweep and mop to remove dust, dirt, and debris. A dry, smooth surface ensures better adhesion.
Check for uneven surfaces – If the subfloor has cracks or irregularities, use a self-levelling compound to smooth it out.
Measure your space – Determine the exact dimensions and calculate the number of flooring tiles, rolls, or mats required.
Depending on the type of gym flooring, follow these specific installation methods:
For added stability and longevity, secure the flooring properly:
Use an underlay for extra cushioning and noise reduction – A 6mm acoustic rubber underlay improves shock absorption and reduces impact noise.
Adhesion options for a firmer hold:
Seal the seams (optional) – If you want to prevent dirt and moisture from seeping into the gaps, consider sealing the seams with a rubber seam sealer.
Setting up a gym on an upper floor requires careful planning to minimise noise, vibrations, and structural strain. The impact from dropped weights and high-intensity workouts can travel through floors and walls, disturbing others in the house. To create a functional and quiet space, you need the right flooring, soundproofing, and weight distribution.
Impact noise is the biggest issue in second-floor gyms. Installing SilentGym rubber tiles helps absorb shock and reduce noise transfer. For extra vibration control, GenieMat Underlay beneath the flooring adds another layer of soundproofing. If you’re working with wooden floorboards, SBX Boards can replace standard flooring to increase mass and limit noise transmission.
A second-floor gym must be structurally sound. Most homes can support standard gym setups, but if you plan on heavy weightlifting, check your floor’s load-bearing capacity. Distribute weight evenly and avoid concentrated loads in one area.
Airborne noise, such as music and machine sounds, can travel through walls. Installing SM20 Rubber Panels helps absorb sound, while Rockwool RW5 Acoustic Wool inside walls reduces noise transfer between rooms.
To minimise disturbance, opt for rubber-coated weights, shock-absorbing cardio equipment, and drop pads to dampen sound. Ensuring a stable setup with rubber flooring and underlays will also prevent vibrations from spreading.
With SilentGym flooring, GenieMat Underlay, and proper wall soundproofing, you can create a quiet, effective second-floor home gym. Investing in the right materials ensures you can train without disturbing the rest of your household.
We have solution calculators for all our wall, floors and ceiling solutions, so head over to the relevant area to find the calculator you need.
Including calculators for the GenieClip and Resilient bar systems, alongside our rubber panel solution.
Find calculators for the SBx boards, Absorbalay high impact flooring, floating floor systems and so much more.

We have calculators for the GenieClip and LB3 ceilings systems, alongside acoustic hangers and independent ceiling systems.